Unlock Your Raspberry Pi’s Full Potential: Learn How to Use it as a Web Server!
Raspberry Pi is one of the most inexpensive and powerful computers available today. It is a small, fully-fledged computer that can be used for a variety of tasks, such as programming, web development, and more. In this blog article, we will explore how to use your Raspberry Pi as a web server. We will look at what components make up a Raspberry Pi and how to set up and configure your Raspberry Pi for the web server. Finally, we will look at how to test your Raspberry Pi web server and keep it secure. So, let’s get started!
Introduction to Raspberry Pi
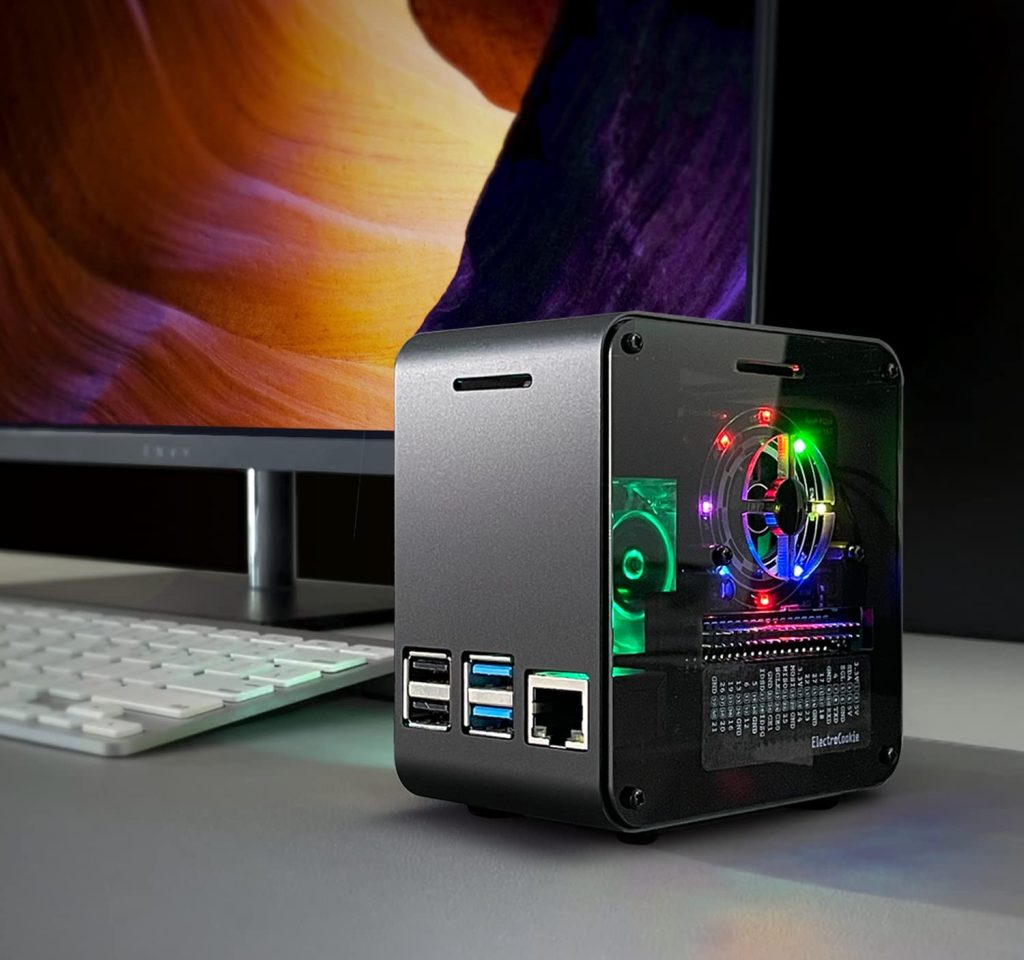
Raspberry Pi is a small, inexpensive computer that can be used for a variety of tasks. It was initially designed to help teach children the basics of programming, but it has since become popular among hobbyists, professionals, and businesses alike. The Raspberry Pi is a small, low-cost computer that is powered by an ARM processor and runs on the Linux operating system. It is available in various models, with different amounts of memory and storage capacity. The Raspberry Pi is a great tool for hobbyists and professionals alike. It is capable of running a variety of different programs and applications, including web servers. It is also small and lightweight, making it easy to set up and use. With the help of some additional components, you can turn your Raspberry Pi into a powerful web server.
Components of a Raspberry Pi
Setting Up Your Raspberry Pi
Installing the Necessary Software for a Web Server
Now that your Raspberry Pi is set up, you can begin to install the necessary software for a web server. The first step is to install the Apache web server. This is a popular web server that is easy to set up and configure. To install Apache, open a terminal window and run the following command: `sudo apt-get install apache2` This will install Apache on your Raspberry Pi. Once it is installed, you can start the web server by running the following command: `sudo /etc/init.d/apache2 start` This will start the Apache web server and you will be able to access it from any web browser. You will also need to install a database server. This is used to store and manage data. The most popular database server for Raspberry Pi is MySQL. To install MySQL, open a terminal window and run the following command: `sudo apt-get install mysql-server` This will install MySQL on your Raspberry Pi. Once it is installed, you can start the database server by running the following command: `sudo /etc/init.d/mysql start`
Configuring Your Raspberry Pi for the Web Server
Connecting Your Raspberry Pi to the Internet
Now that your Raspberry Pi is set up and configured, you can connect it to the Internet. To do this, you will need an Ethernet cable and a router. Connect the Ethernet cable to the Raspberry Pi and the router. You can then configure your router to assign your Raspberry Pi an IP address. Once your Raspberry Pi is connected to the Internet, you can access it from any web browser. You will need to know the IP address of your Raspberry Pi in order to access it.
Setting Up a Domain Name for Your Raspberry Pi
Now that your Raspberry Pi is connected to the Internet, you can set up a domain name for it. This will allow you to access your Raspberry Pi web server using a domain name instead of an IP address. To set up a domain name, you will need to register it with a domain registrar. You can then configure your router to point the domain name to your Raspberry Pi’s IP address.
Testing Your Raspberry Pi Web Server
Once you have set up your Raspberry Pi web server, you will want to test it to make sure it is working properly. To do this, open a web browser and type in the domain name or IP address of your Raspberry Pi. If everything is working correctly, you should be presented with a web page. You can also test your web server by running commands on the command line. To do this, open a terminal window and type in the following command: `curl -I http://www.example.com` This will send a request to the web server and return the response. If everything is working correctly, you should see a response with a status code of 200.
Security for Your Raspberry Pi Web Server
Once you have tested your Raspberry Pi web server, you will want to make sure that it is secure. The best way to do this is to install a firewall on your Raspberry Pi. A firewall will protect your web server from malicious attacks and keep it secure. You can also use a password manager to store passwords for your web server. This will help to keep your passwords secure and make it easier to manage them. Finally, you should set up access control on your web server. This will allow you to control who has access to your web server and what they can do.
Conclusion
In this blog article, we have explored how to use your Raspberry Pi as a web server. We have looked at the components that make up a Raspberry Pi and how to set up and configure it for a web server. We have also looked at how to connect your Raspberry Pi to the Internet and set up a domain name. Finally, we have looked at how to test and secure your Raspberry Pi web server. Using a Raspberry Pi as a web server is a great way to get started in web development. It is a powerful and cost-effective way to learn and build websites. So, what are you waiting for? Get your Raspberry Pi from Hashcode Today and unlock the full potential of your Raspberry Pi!